Transitions v5 22834323 Videohive - Free Premiere Pro Templates. Premiere Pro CC No plugins Resizable 569 Mb. Over 2000 Professional Seamless Transitions for Premiere Pro Transitions Library contains more than 2000 ready to use presents which can help you make your unique video on a professional level.
Want to add some motion graphics to your videos — without After Effects? Download these 21 Free Motion Graphics templates for direct use in Premiere Pro.
One of the best new additions to the creative cloud in the last few years has been the extremely convenient Essential Graphics Panel. This is a handy way for After Effects and Premiere Pro to coexist in perfect harmony.
Using this free pack of motion graphics templates for Premiere, you can quickly add customizable motion to your video projects without ever opening After Effects.
This Free Pack of 21 Motion Graphics for Premiere includes the following:
- 8 customizable animated text titles.
- 13 clean and modern transitions with customizable colors.
- .AE project file (customize however you’d like).
Download the 21 Free Motion Graphics for Premiere
Click the button below to download the free pack of 21 Motion Graphics for Premiere. In the download, you’ll find everything you need to get started. These motion graphics are free to use in any personal or commercial projects. By downloading, you agree not to resell or redistribute these free assets.
DOWNLOAD 21 FREE MOTION GRAPHICS
Using The Free Motion Graphics Templates
The great thing about using the Essential Graphics Panel to create templates like this is that it allows you to customize certain parameters and aspects of your motion graphics without going back and forth between After Effects and Premiere.
As I mentioned above, the download includes the AE project file, so if you’d like to customize fonts, colors, and animation in a very specific way that we didn’t include in the template, feel free to open the project up and change whatever you’d like.
With each of these templates, you’ll find specific tools that you can use to customize the animations, colors, and text to your liking.
Before using these templates, be sure you are up to date with the most recent versions of Premiere and After Effects.
Step 1: Install the fonts
In the download folder, you’ll find all the fonts you need to use the title graphics. Install these fonts before trying to use these graphics — otherwise they might not look correct.
Step 2: Install the .mogrt files into Premiere
To install the .mogrt files (the template files that Premiere uses for the Essential Graphics Panel) in Premiere, you need to open the Essential Graphics Panel.
In the bottom right-hand corner of the Essential Graphics panel, you’ll see a little plus button and square (pictured above). Click on that button and install the template that you want.
At the time of this posting, there is no way to install multiple templates simultaneously; you have to install one at a time.
Step 3: Using/customizing the templates
Once you’ve installed your templates, drag your graphic of choice down to the timeline. Now, once you select that graphic, you’ll notice some customization options in the Essential Graphics Panel. Here you can change colors, text, and various opacities, and you can turn certain elements on or off.
This will be different for each graphic, as the customization options depend on the needs and capabilities of each particular graphic.
What’s truly fantastic about this workflow is that you can copy and paste the same graphic to a different place in your timeline, and once you change the copy, the original will remain unchanged. This is not the case with other workflows (dynamic link, etc.).
BONUS: Pair with RocketStock’s 15 Free Lower Thirds
Recently, RocketStock released a similar pack of 15 FREE Lower Thirds. We created this pack of motion graphics templates specifically to play nice with that freebie pack. So, if you merge the two, you’ll have a pretty nice library of drag-and-drop motion graphics that all have a similar visual style.
To find out how to use these lower thirds (which also covers the process for using and installing these graphics), watch the video below:
The Essential Graphics Panel is the way of the future. Get used to it, experiment with it, and find some great and ways to add some really clean and professional motion graphics to your video projects.
Enjoy!
Looking for more on motion graphics? Check out these articles.
n','url':'https://youtu.be/Wcgh1OP5KVw','width':854,'height':480,'providerName':'YouTube','thumbnailUrl':'https://i.ytimg.com/vi/Wcgh1OP5KVw/hqdefault.jpg','resolvedBy':'youtube'}'>'>
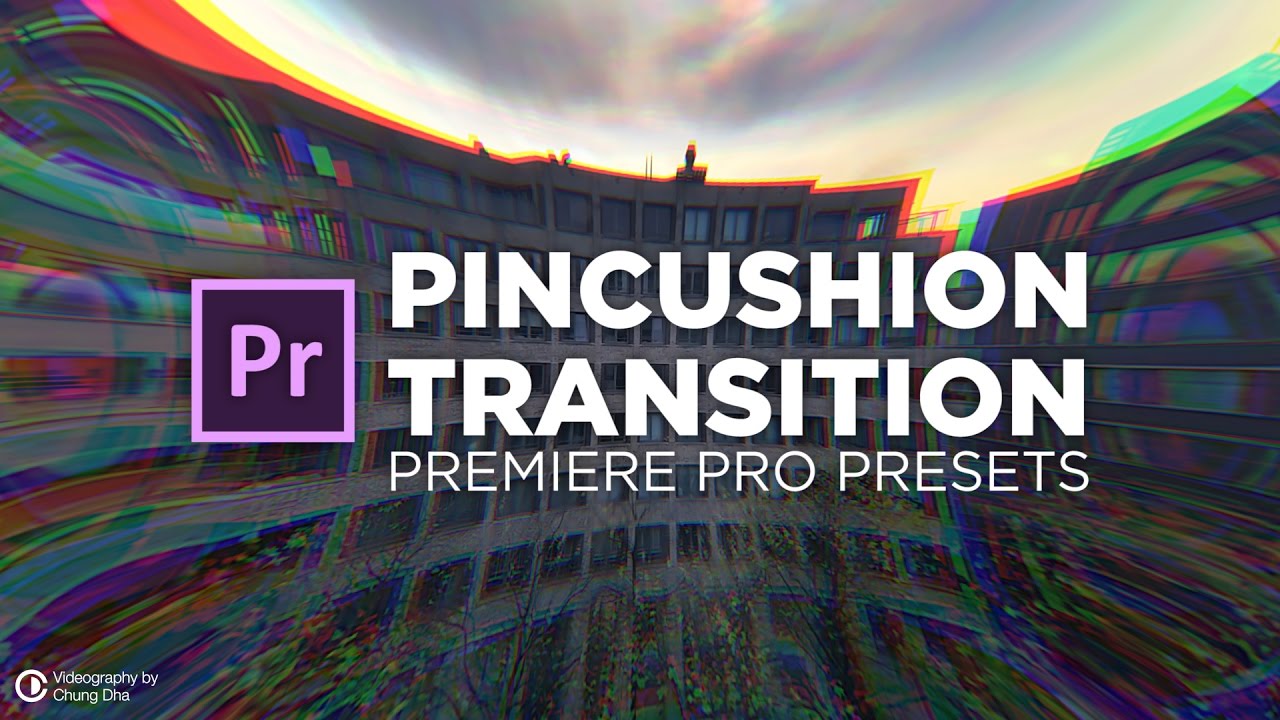
Download FILM CRUX Glitch Transitions Vol. 1, our new pack of 15 free drag-and-drop glitch transitions designed specifically for Adobe Premiere Pro.
The pack includes:
Classic Glitch A
Classic Glitch B
Classic Glitch C
Classic Glitch D
Classic Glitch E
Distortion Glitch
Ghost Glitch A
Ghost Glitch B
Inversion Glitch
Matrix Warp
Pixelate
RGB Stutter
RGB Warp
Stutter
Stutter Zoom
+20 Glitch Sound Effects
HOW TO USE THEM
n','url':'https://youtu.be/dcbc-j8yYX0','width':854,'height':480,'providerName':'YouTube','thumbnailUrl':'https://i.ytimg.com/vi/dcbc-j8yYX0/hqdefault.jpg','resolvedBy':'youtube'}'>'>
Just download the file, and drag it into your Premiere Pro ‘Presets’ folder on your computer.
In Adobe Premiere Pro CC, right click ‘Presets’ in your ‘Effects’ folder and select ‘Import Presets’.
Find the FILM CRUX Glitch Transitions Vol. 1 preset file you downloaded and select it. (Once imported, you will not need to import them again.)
Create an adjustment layer above your footage and drag it out over the clips you want to add a transition to.
Each transition will recommend how many frames your adjustment layer should start before the cut between your two clips. Bsi proof correction marks pdf file.
Just drag the transition of your choice onto the adjustment layer overlapping your two clips.
That’s it.
And the recommendations are just that. You can experiment by moving your adjustment layers around on your timeline to create new effects or tweak the transitions to suit your needs.